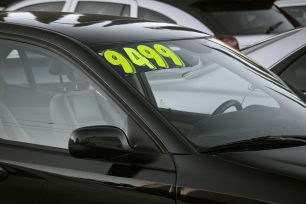
When buying a car – especially a used one – it’s crucial to find out if it has been in any accidents. Hidden accident damage can affect a vehicle’s safety, reliability, and resale value. A car that’s been in a serious collision might have underlying structural issues or poorly repaired components that could lead to costly problems or safety risks down the road. Even brand-new cars aren’t immune; sometimes a “new” vehicle might have had undisclosed damage from transport or lot incidents. This article will walk you through a range of methods to uncover past accident damage, from official vehicle history checks to hands-on inspection tips. We’ll start with the most reliable methods (like history reports and professional inspections) and then cover useful DIY techniques for spotting red flags that suggest past damage.
Check Vehicle History Reports
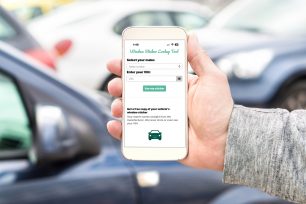
One of the first steps is to obtain a vehicle history report using the car’s VIN (vehicle identification number). Services like Carfax and AutoCheck, services like VIN Lookup , or iSeeCars’ Vehicle Title History tool, or other NMVTIS-approved providers compile data from DMVs, insurance companies, and police reports to reveal recorded accidents. A history report can tell you if the car has been in any reported crashes, had a salvage or rebuilt title, or other red-flag events. For example, the National Motor Vehicle Title Information System (NMVTIS) is a U.S. government database that includes title, salvage, and total loss records. These reports often include:- Accident records: Dates and sometimes severity or repair estimates of reported crashes.
- Title history: Whether the car was declared a salvage or rebuilt title, which often indicates major accident damage.
- Ownership and use: If the car was ever labeled a fleet, rental, or had taxi usage (some high-use scenarios correlate with higher accident risk).
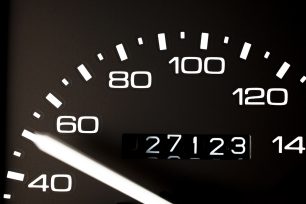
- Odometer readings: Inconsistent mileage could hint at tampering or periods when the car was out of service (possibly due to an accident).
Get a Professional Inspection (Mechanic or Body Shop)
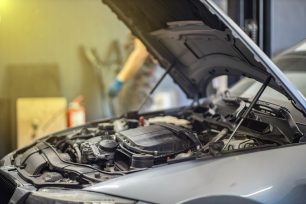
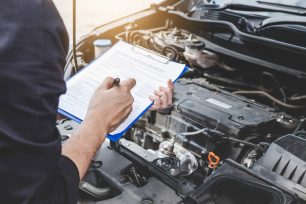
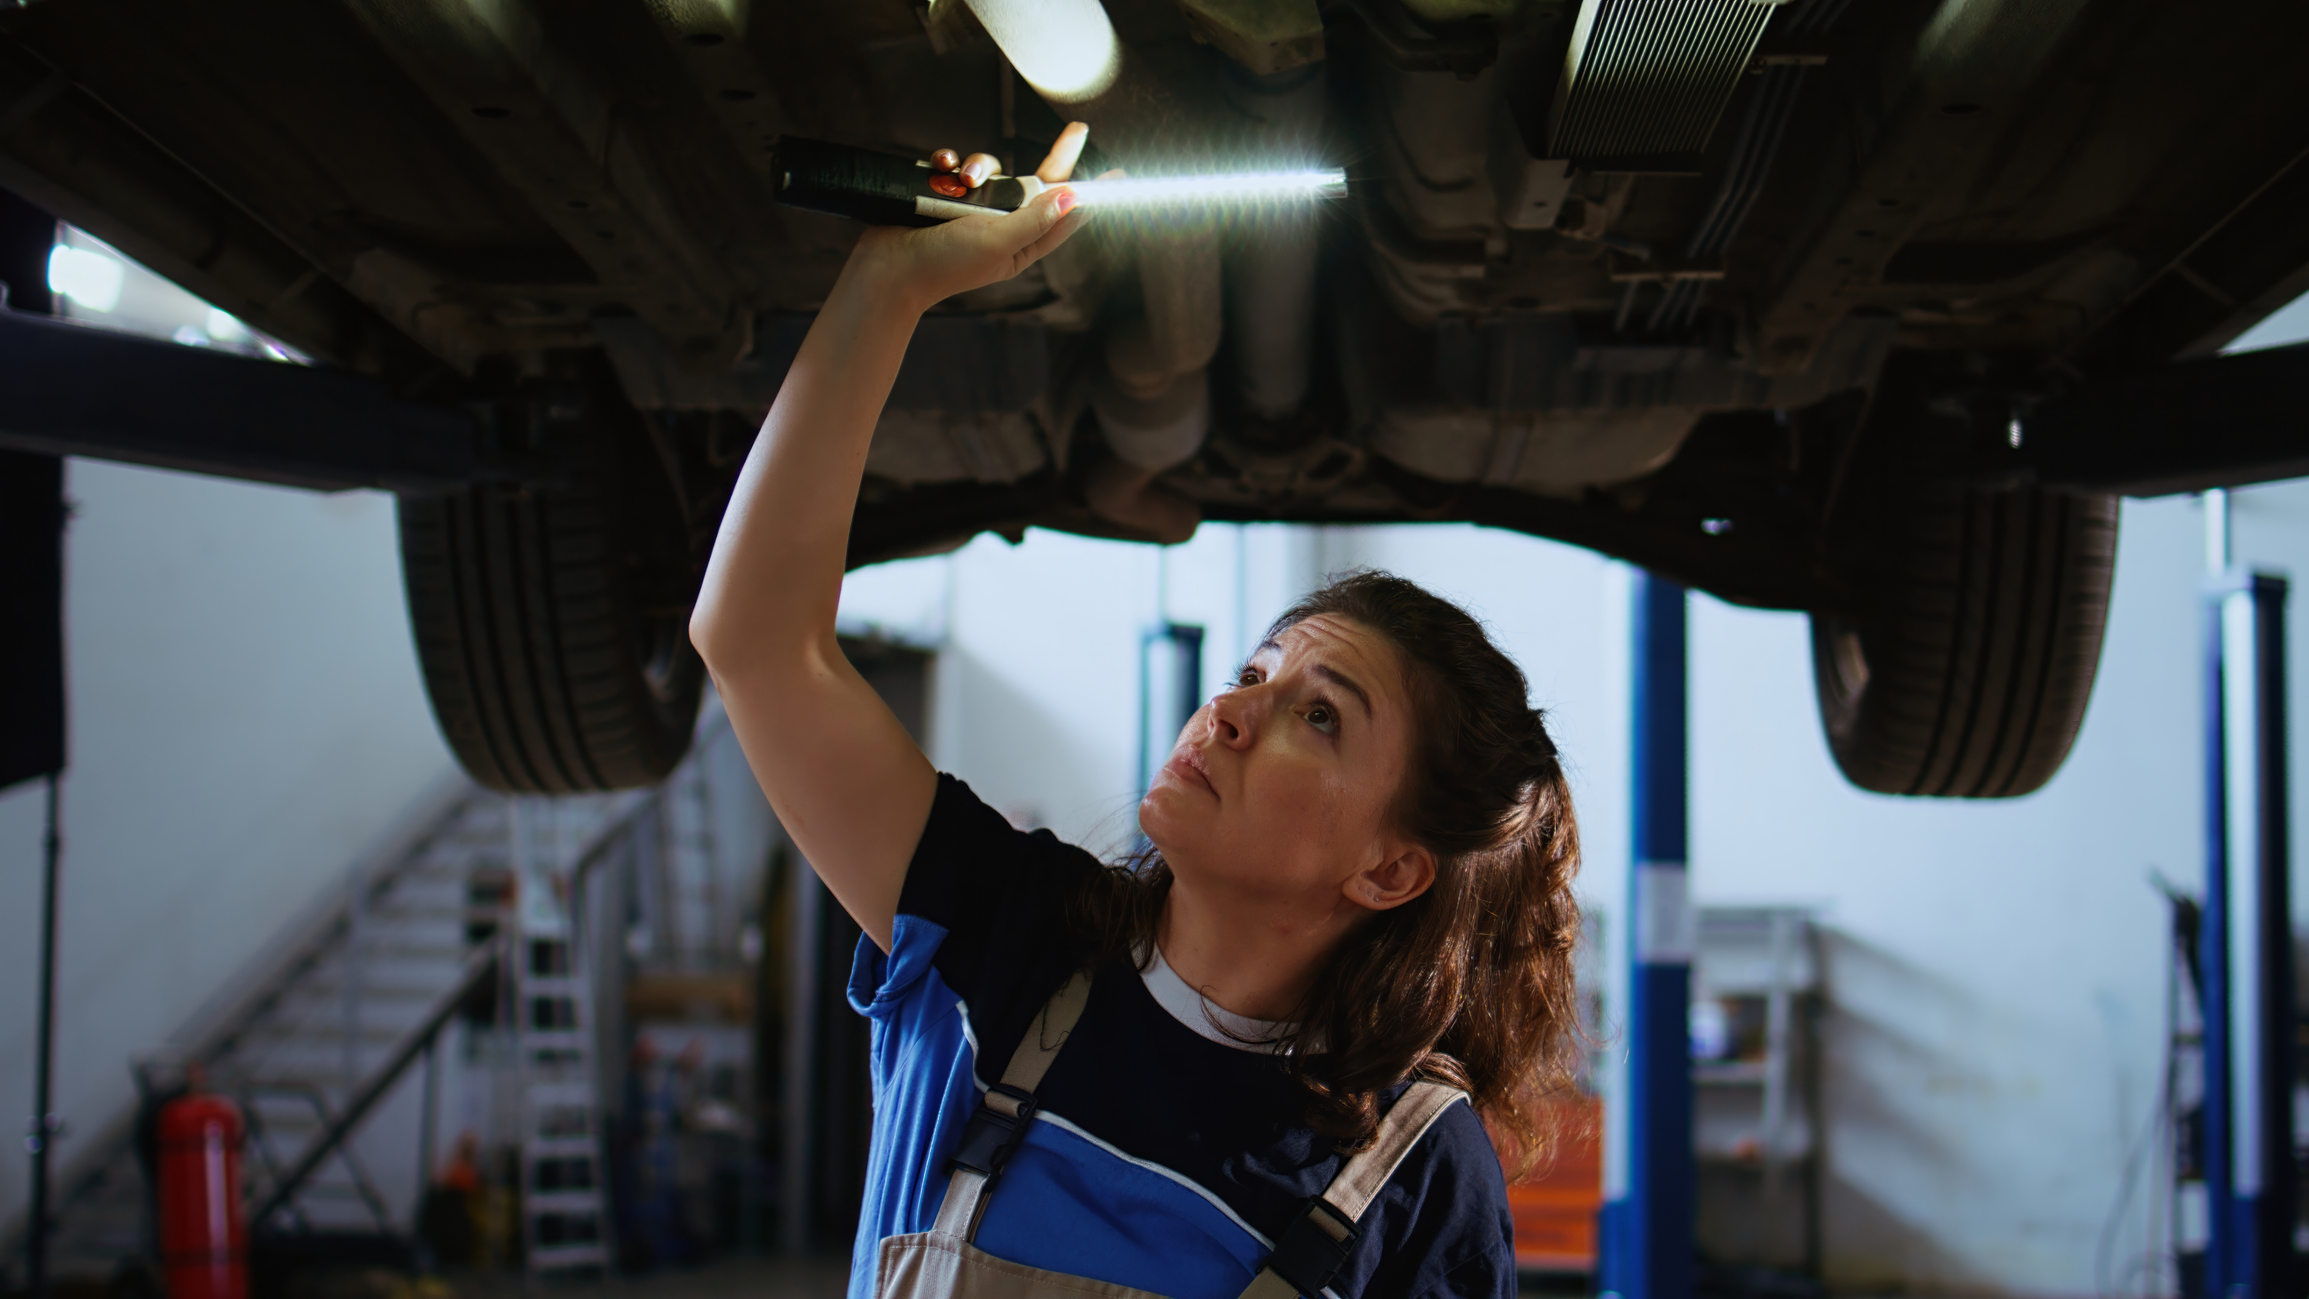
For peace of mind, invest in a professional pre-purchase inspection by a trusted mechanic or body shop. Experienced technicians have well-trained eyes and tools to spot collision repairs that a layperson might miss. A pro will put the car on a lift to scrutinize the frame and undercarriage, check suspension and alignment, and even use devices like a paint thickness gauge to detect repainted panels. They’ll look for signs of unibody or frame straightening, replaced parts, and mechanical problems stemming from past accidents.A thorough inspector can identify unreported or hidden damage that won’t show up on Carfax. For instance, if a fender-bender wasn’t filed with an insurance company but the body panel was fixed, a mechanic might still find overspray or mismatched paint or note that a radiator support was welded back on. Professionals also examine critical safety systems. They can scan for airbag module errors, ensure airbags were correctly replaced, and check that seatbelts and sensors function properly. Many buyers find that spending about $100 on a pre-purchase inspection is well worth it to avoid a car with major accident repairs. In fact, frame damage is one of the biggest concerns – a car with a bent or improperly repaired frame is less likely to protect you in a future crash. An expert inspection will highlight any such dangers before you commit to buying.
Verify with VIN and Dealer/Manufacturer Records
Beyond third-party history reports, you can use the VIN to check for manufacturer and dealer service records that might indicate accident repairs. Many dealership service centers and collision repair shops report major repairs to centralized databases. Here are a few ways to leverage the VIN:- Manufacturer Service History: If possible, contact a franchised dealer for that car’s brand and ask if they can pull up service records by VIN. For example, a Toyota dealer might retrieve some or all of a vehicle’s maintenance and repair history (if the car was serviced at authorized Toyota centers). These records could show collision repairs or part replacements (e.g., “front bumper cover replaced” or “airbag module replaced”) that indicate an accident occurred. Not all dealers will share this info due to privacy, but it’s worth asking. Some manufacturers also have online owner portals where previous service visits (including body repairs done at dealerships) are logged.
- Recall and Repair Databases: Check if the VIN has open recalls or any manufacturer campaigns. While recalls aren’t accidents, sometimes accident repairs are done alongside recall work, or a recall might note structural inspections.
- Insurance or Police Records: Though not usually directly accessible, if you have any documentation (like an old insurance ID card left in the glove box or a police accident report number from the seller), those can be clues. In some jurisdictions, you can request accident reports if you know the date and location of a crash.
The VIN is your car’s fingerprint; use it to gather any official record you can. If a dealer’s database shows a major repair or if a previous dealer service record notes structural work, you’ll have strong evidence the car was in an accident.
Inspect for Repainting and Mismatched Paint
Many accident repairs involve repainting body panels. By closely inspecting the car’s paint finish, you can often spot telltale signs of bodywork:- Color or Shade Inconsistency: Look at adjacent panels (for example, a door and a fender) in bright lighting. If one panel’s color or gloss looks slightly off compared to the one next to it, that panel may have been repainted. Stand at different angles; sometimes a repainted area might shine differently or have a different texture (often called an “orange peel” effect) than factory paint.
- Overspray: Examine door jambs, edges of the hood and trunk, and around trim pieces (like rubber window seals or headlights). Overspray is when paint lightly coats areas it shouldn’t – for instance, a bit of body color on black plastic trim or the rubber seals, indicating the area wasn’t fully masked during a repaint. Overspray on the inside edges of panels or in wheel wells is a red flag for recent paint work.
- Uneven Finish or Ripples: Sight down the side of the car in sunlight to catch any ripples, waves, or sanding marks in the bodywork. Body filler and patch repairs can lead to slight waviness in panels. A factory panel is usually smooth and uniform. Any area with a bumpy or uneven surface might have been repaired and filled after a dent.
- Masked Lines: Look for lines of demarcation where paint may change due to tape lines under the clearcoat. For example, if you open the hood or door and see a tape line, or slight color change on the edge, that panel might have been partially repainted.
Examine Body Panel Alignment and Gaps
Uneven gaps or misaligned panels are classic indicators that a vehicle was in a collision and not perfectly repaired. When a car is assembled at the factory, the seams between body panels (gaps) are usually consistent and straight. After an accident, especially a severe one, it’s difficult to restore everything to exact factory specifications. Here’s what to do:- Visual Gap Inspection: Stand centered in front, behind, and at the side of the car and look carefully at the lines between body panels. Are the gaps between the hood and fenders equal on both sides? How about the spacing around the doors, trunk lid, and headlights/taillights? If you notice one gap is significantly wider or narrower than its opposite side, that panel may have been removed and not perfectly realigned. As a rule of thumb, you shouldn’t be able to easily stick a finger into the door or fender gaps; they should be tight and even.
- Panel Flushness: Run your hand along the doors and fenders – do adjoining panels sit flush with each other? For example, when a door is closed, it should sit level with the fender. If one panel protrudes or sits lower than the adjacent one, there could have been repair work. Misaligned doors or a hood that’s slightly raised on one side can indicate reassembly after an accident.
- Open/Close Test: Open and close all doors, the hood, and trunk. They should latch and move smoothly. If a door rubs or requires extra force to shut, or the hood doesn’t align with the latch easily, something might be bent. A common sign is a door that sticks or has worn paint on its edges (from rubbing) – this could mean the frame is slightly twisted or the door is from another car.
- Look Beneath Seals and Trims: If you have already identified a suspicious body panel, peel back the rubber weatherstripping in that area if possible – sometimes you might see bent metal or weld marks hidden under seals if a panel was replaced.
Inspect the Undercarriage and Frame for Damage or Rust
Get down and look underneath the car — or better yet, put it on a raised vehicle lift. Serious accidents often leave evidence on the chassis with visible clues from the car’s underside:- Frame Rails and Crumple Zones: Check the main structural members (frame rails on older body-on-frame vehicles, or unibody subframe areas on modern cars). Look for any bends, kinks, or crumples in metal beams. Also examine the trunk’s spare tire well and the floor pans under the seats; large dents or creases in these usually indicate a past collision. If you see sections of metal that appear freshly painted or unusually new compared to surrounding areas, that part might have been replaced.
- Welding Marks: Factory welds are usually neat, even beads. If you spot irregular welding marks or fresh welds on portions of the frame or in wheel wells, it could mean a section was cut out and reattached. For example, check the trunk floor from inside – it should typically be one continuous piece. If you notice it’s been cut and welded together, that’s a major red flag. Likewise, welds in odd places in the engine bay (especially near the strut towers or inner fenders) indicate sections were repaired or straightened. The presence of non-factory welds suggests the car sustained significant damage (like part of the rear or front was replaced).
- Fresh Undercoat or Paint Underneath: A very clean, freshly undercoated undercarriage on an otherwise older used car might be hiding repairs. Yes, dealers often detail cars, and in some regions with harsh winters undercoating can be part of normal maintenance, but brand-new undercoating could also be intended to cover up recent welding or new metal. Look for overspray of undercoat on suspension parts or exhaust – if it’s everywhere, someone may have coated the bottom recently (possibly to hide new welds or repaired areas).
- Rust in Strange Places: Accident repairs that involve welding or cutting may leave some bare metal that can rust if not sealed properly. If you see rust or bare metal under the carpet in the trunk or under the hood along seams, that might be where paint was removed for welding and not refinished. Compare both sides of the car – if one side has unusual rust or unpainted metal spots while the other side is clean, that’s suspicious.
- Bent Suspension or Mounts: While under the car, examine the suspension components (control arms, struts) and their mounting points. A shiny new control arm on one side, or scrape marks on the chassis where something was straightened, can hint at accident repairs. Also check the radiator support (front crossmember behind the bumper). If it’s crinkled or newly replaced (different paint or newer-looking bolts), the car likely had a front-end collision.
Check Lights, Glass, and Other Replaced Parts
Another clue to past accidents is mismatched or replaced components on the exterior. When a car is repaired on a budget, sometimes only the damaged parts are replaced, leading to inconsistencies:- Headlights and Taillights: Do the front headlights match each other in age and brand? If one headlight lens looks brand new (clear plastic, shiny inside) and the other is worn or yellowed, it’s likely one was replaced after an impact. Inspect the tiny markings on the lights – manufacturers often imprint a logo and a date code. If the left and right have different branding or vastly different date stamps, that’s evidence one is not original. Similarly, check the taillights and even the side mirror housings for consistency.
- Windshield and Windows: Auto glass typically has an etching or label with the automaker or glass manufacturer’s name and sometimes the year. Compare all the windows. If three windows say “Pilkington 2015” and one says “Saint-Gobain 2018”, that odd one was replaced. A replaced windshield could simply mean a bad stone chip in the past, but a replaced side or rear window often means collision or break-in. If a windshield was replaced, check that it’s installed correctly (no wind noise or leaks) and note if the car had front-end damage potentially.
- Bumpers and Trim: Look closely at the front and rear bumper covers. A newly painted bumper (very shiny or a slightly off color) on an older car suggests it was repaired or replaced. Also, the fitment of bumpers – are there large gaps or is it slightly loose on one side? That can indicate it was removed and not clipped back perfectly. Missing fog lights or different style grille on one side? Possibly pieced together from used parts.
- Mismatched Accessories: Sometimes a repaired car will have one wheel different (if one was damaged and they couldn’t find an exact match) or one tire that’s a different brand (if only one got blown out in an accident). Even small things like a new muffler or radiator can be hints if they coincide with other accident evidence (e.g., a new radiator behind a slightly bent radiator support).
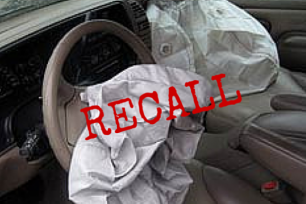
Check Airbag Indicator Lights and Seatbelts
Accidents serious enough to deploy airbags are crucial to uncover, because it means the car had a significant impact and safety systems were activated. Unscrupulous sellers might not replace the airbags properly (it’s expensive) or might hide airbag issues to sell the car. Here’s how to check:- Airbag Dashboard Light: When you turn the key to the ON position (before starting, in cars with key ignitions) or when you first start the car, the airbag indicator light should momentarily illuminate, then turn off if the system is okay. This is the self-check. If the airbag light stays on, there’s a problem – possibly an airbag has been deployed and not replaced, or there is a sensor issue. If the airbag light never comes on at all, that’s a red flag too. A missing bulb or disconnected light could mean someone intentionally disabled it to hide a fault (for instance, if the airbag was removed entirely).
- Physical Airbag Checks: Inspect the steering wheel airbag cover and the passenger dash where the airbag lives. Do they look original and properly fitted? Sometimes replacement airbag covers might not fit perfectly or the texture/color is slightly off. Also check the seams where an airbag would burst through – if you see stitching or an ill-fitting panel, it might be a sign that a deployed airbag wasn’t replaced with factory parts. Side airbags (in seats or pillars) are harder to check, but look at the seat sides for any reupholstered areas or tags missing.
- Seatbelts: Seatbelt pretensioners often activate in a crash (they tighten the belts). After deployment they usually need replacement. Check that all seatbelts retract properly and inspect the belts for fraying or burn marks. A telltale sign is if a seatbelt is new on only one side (different tags or less faded color) – perhaps it was replaced after a crash. Also, try buckling and unbuckling each belt to ensure they latch and retract normally.
- OBD Scan: If you have access to an OBD-II scanner, you could check for error codes related to the Supplemental Restraint System (SRS). This is more technical, but any stored codes for airbags would confirm a fault.
Test Drive: Observe Alignment and Suspension Behavior
Never buy a used car without a thorough test drive. This is not just to see how you like the car, but also to spot potential accident-related issues in the way it drives:- Car Pulls to One Side: On a straight, flat road, does the vehicle drift left or right when you loosen your grip on the wheel? A persistent pull could indicate the alignment is off. While poor alignment can result from normal wear (like hitting curbs or lack of maintenance), it can also be due to a bent frame or suspension component from a crash. If an alignment was recently done, the car should track straight. Any strong pull or the steering wheel needing to be held at an angle to go straight is worth investigating.
- Steering Wheel Vibration or Imbalance: At highway speeds (~60 mph or 100 km/h), feel for any unusual vibrations. A shimmy in the steering could mean a bent rim or suspension part (possibly from an accident impact). When braking, if the car vibrates or pulls, that could also hint at damage (or simply warped rotors, but you’ll want to know).
- Suspension Noises: Listen with the radio off and windows slightly open. Go over some bumps. Clunking, creaking or popping noises could indicate a damaged suspension part or subframe. A collision can damage struts, shocks, or bushings. For example, a loud clunk when turning could mean a bent strut mount from a previous wreck.
- Handling and Stability: Does the car feel stable in turns? If it feels loose or wallowy, or you hear a metallic knock, something might be bent or broken underneath. After an accident, even if alignment is corrected, a car might never feel quite the same if the chassis is tweaked.
- Dashboard Alignment: Look at the steering wheel when driving straight – is it centered? A misaligned steering wheel (off-center) after an alignment could mean something is still bent.
- Odd Behaviors: Pay attention to any warning lights that come on during your drive. For instance, if the traction control or ABS lights appear, it could be related to wheel sensors knocked out of place by a prior accident.
Remember, even if the car generally drives fine, subtle issues can be clues. Don’t ignore a slight drift or a faint noise. Ask a mechanic to specifically examine those if you intend to proceed further with a possible purchase. Sometimes what feels like a minor annoyance can be a sign of a past collision repair that wasn’t 100% resolved (like a control arm that’s slightly bent causing unusual tire wear).
Examine Tire Wear Patterns
Before or after the test drive, kneel down and inspect the tread wear on all four tires. Uneven or abnormal tire wear can reveal alignment and suspension problems that might stem from an accident:- Uneven Tread: Compare the inner edge and outer edge of each tire’s tread. If you notice one side is significantly more worn than the other (for example, the inner edge is bald but the outer edge looks fine), the alignment is likely off. This could be due to a bent frame or suspension that the previous owner tried to “align” as best as possible after a crash. Even if the car drives straight, a hidden chassis issue might cause tires to wear unevenly.
- One Tire Different: Are all four tires the same brand and model? If one tire is noticeably newer or different, it might have been replaced due to damage (like hitting a pothole or accident). Check if there’s a reason given (maybe the owner got a flat). But if, say, both front tires are worn strangely and were recently replaced, maybe the front suspension had issues.
- Cupping or Patches: Run your hand across the tread – is it smooth or are there cupped (scalloped) patterns? Cupping can indicate bad shocks or struts (which could be from normal wear or from an impact). A patchy wear pattern (high and low spots) might point to suspension components that were bent and not moving correctly.
- All Tires Worn on One Side: If both tires on one side of the car (left side tires, for example) show more wear than the other side, it suggests the car might have been driven misaligned (possibly after frame damage) or the suspension on that side has an issue.
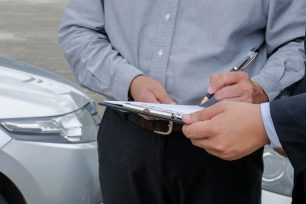
Talk to the Seller and Review Vehicle Documents
Last but not least, talk to the seller and examine any records they can provide. Often the way a seller responds can be telling:- Ask Directly: It might feel awkward, but ask: “Has this car been in any accident or had body repair work done?” A trustworthy private seller or dealer should answer honestly. Some might admit a minor fender-bender and explain what was fixed. If a seller hesitates, gets defensive, or gives an unclear answer (“uh, not that I know of, maybe the previous owner…”), that’s a signal to be extra thorough in your inspection.
- Service Records: Request maintenance records or receipts. Reviewing service and repair documents provides a picture into a car’s past. Look for any collision repair receipts, alignment shop visits, or parts purchases (e.g., a bill for a new bumper or radiator) in the paperwork. Even if they only show oil changes, consistency matters – large gaps in usage or missing records for a long period could hint the car was out of commission for a while (perhaps due to an accident repair).
- Title and Ownership History: If you’re dealing with a private seller, ask to see the title. A title that’s branded as Salvage or Rebuilt means it was in a major accident at some point (or flood, etc.). If the title is clean, see how long the current owner has had it. Someone who only owned the car a short time might be flipping it – possibly after fixing it up from an accident. Also check if the seller’s name is on the title; if not, they might be a curbstoner (unlicensed dealer) selling cars possibly with issues.
- Behavior and Honesty: Pay attention to the seller’s behavior. An honest individual might proactively mention a past minor accident (“I bumped into a post last year, but I got the fender professionally repaired – here’s the receipt”). A seller who claims the car is “perfect” and “accident-free” despite evidence to the contrary in your walkaround is not someone you want to trust. If you’re at a dealership, you can also ask if they did a paint meter test or inspections – sometimes they have a checklist from when they acquired the car.
- Previous Owner Info: Sometimes service records or Carfax will list the prior owner or servicing dealer. You could, in some cases, contact that shop or person for more background. This might be more detective work than most people do, but if you suspect something, a quick call like “Hey, I see you worked on this car last year, can you tell me what was done?” could confirm an accident repair.
Use a Paint Thickness Gauge if Available
For the especially diligent buyer (or if you have access to one), a paint thickness gauge is a handy tool to detect repainted areas. This device (usually electronic) measures the thickness of paint plus any underlying body filler on metal panels.Using a paint gauge is straightforward: you place it on various panels of the car (roof, doors, fenders, etc.), and it gives a reading in mils (thousandths of an inch) or micrometers. Factory paint typically has a consistent thickness range – say 4-6 mils. If you find a door that measures 12 mils when most other panels are 5 mils, that door likely has filler or extra paint, indicating body repair. Likewise, if one fender has much higher readings than the opposite fender, it’s probably been repainted. Consistency is key; a gauge can reveal subtle differences that eyes might miss.
While this is a more advanced method (often used by professionals or serious enthusiasts), it can be very revealing. Suppose a seller insists “no accidents,” but your paint meter shows the entire rear quarter panel has twice the paint thickness of the rest of the car – you’ve got evidence of repair. You can then look closer at that area for overspray or inside the trunk for welds.
Paint gauges have become more affordable and some auto parts stores even rent them. If you’re inspecting an expensive used car or one where you suspect hidden bodywork, this tool can provide objective proof. Just remember that not all repainting is due to crashes (some people repaint for cosmetic reasons), but on a used car it’s usually accident-related. Use the gauge’s info alongside other clues, and if readings are abnormal, ask the seller for clarification or have a body shop examine those panels. It’s one more layer of defense against buying a previously wrecked car unknowingly.
By combining these methods – from running a VIN history report to crawling under the car with a flashlight – you’ll greatly reduce the chances of buying a vehicle with undisclosed accident damage. It might seem like a lot of work, but each step provides valuable information about the car’s past. Start with the easy checks like the history report and a careful walk-around, then move to deeper inspections and professional help if anything raises a concern. Always remember why this effort matters: your safety and your investment. A car that’s hiding a bad repair could fail to protect you in a crash or could end up costing thousands in future repairs.
For used car buyers, knowledge is power. Use all the resources at your disposal – eyes, ears, tools, and experts – to check if a car has been in an accident. Most importantly, if multiple red flags start appearing, be ready to walk away and find a better vehicle. There are plenty of accident-free, damage-free cars out there. With the guidance from this article, you can confidently spot the warning signs of accident damage and make a smart choice on your next car. Safe driving!